
This past weekend, Taylor and I drove the 4.5 hours down to Southern Oregon (or “So. O.” as she calls it) to take advantage of some good-looking weather. We had in mind a ski circumnavigation of Crater Lake, and with the Grand Traverse looming, getting in some long horizontal miles seemed like a prudent plan.

Satellite view of our route
I lived in Chicago for 18 years, and never once did I visit the Sears Tower. As big changes in my life loom ahead, I’m becoming conscious of the chance that I might be pulled away from Oregon before I know what’s happened. Oregon is an amazing state, with lots to offer, and I didn’t want Crater Lake to be Oregon’s Sears Tower for me.

Leaving the car in splitter weather
The route around Crater Lake follows a paved road which permits driving around the entire lake in Summer. In Winter, there is road access to the rim, but the Rim Drive remains unplowed, and so provides an excellent means for circumnavigation. At 33 miles and with a total elevation gain and loss of around 8000′, it’s long but mellow.

Near the parking lot, the skin track was sweet and fast.
We opted for a two-day ski, going slow and heavier, rather than light and fast. While that’s a change for me this season, it was nice to really simmer in the setting rather than focus on speed for the whole effort.

Taking a break near discovery point.
While almost any other trip report I found cites 8 hours as the record around the lake, the visitor center has clear records of Olympic XC skiers making the loop in around 6.5 hours. Most records were set with a snowmobile running ahead to lay track, so there remains a lot of room for improvement in style. Whether AT or XC gear would be better is hard to say.
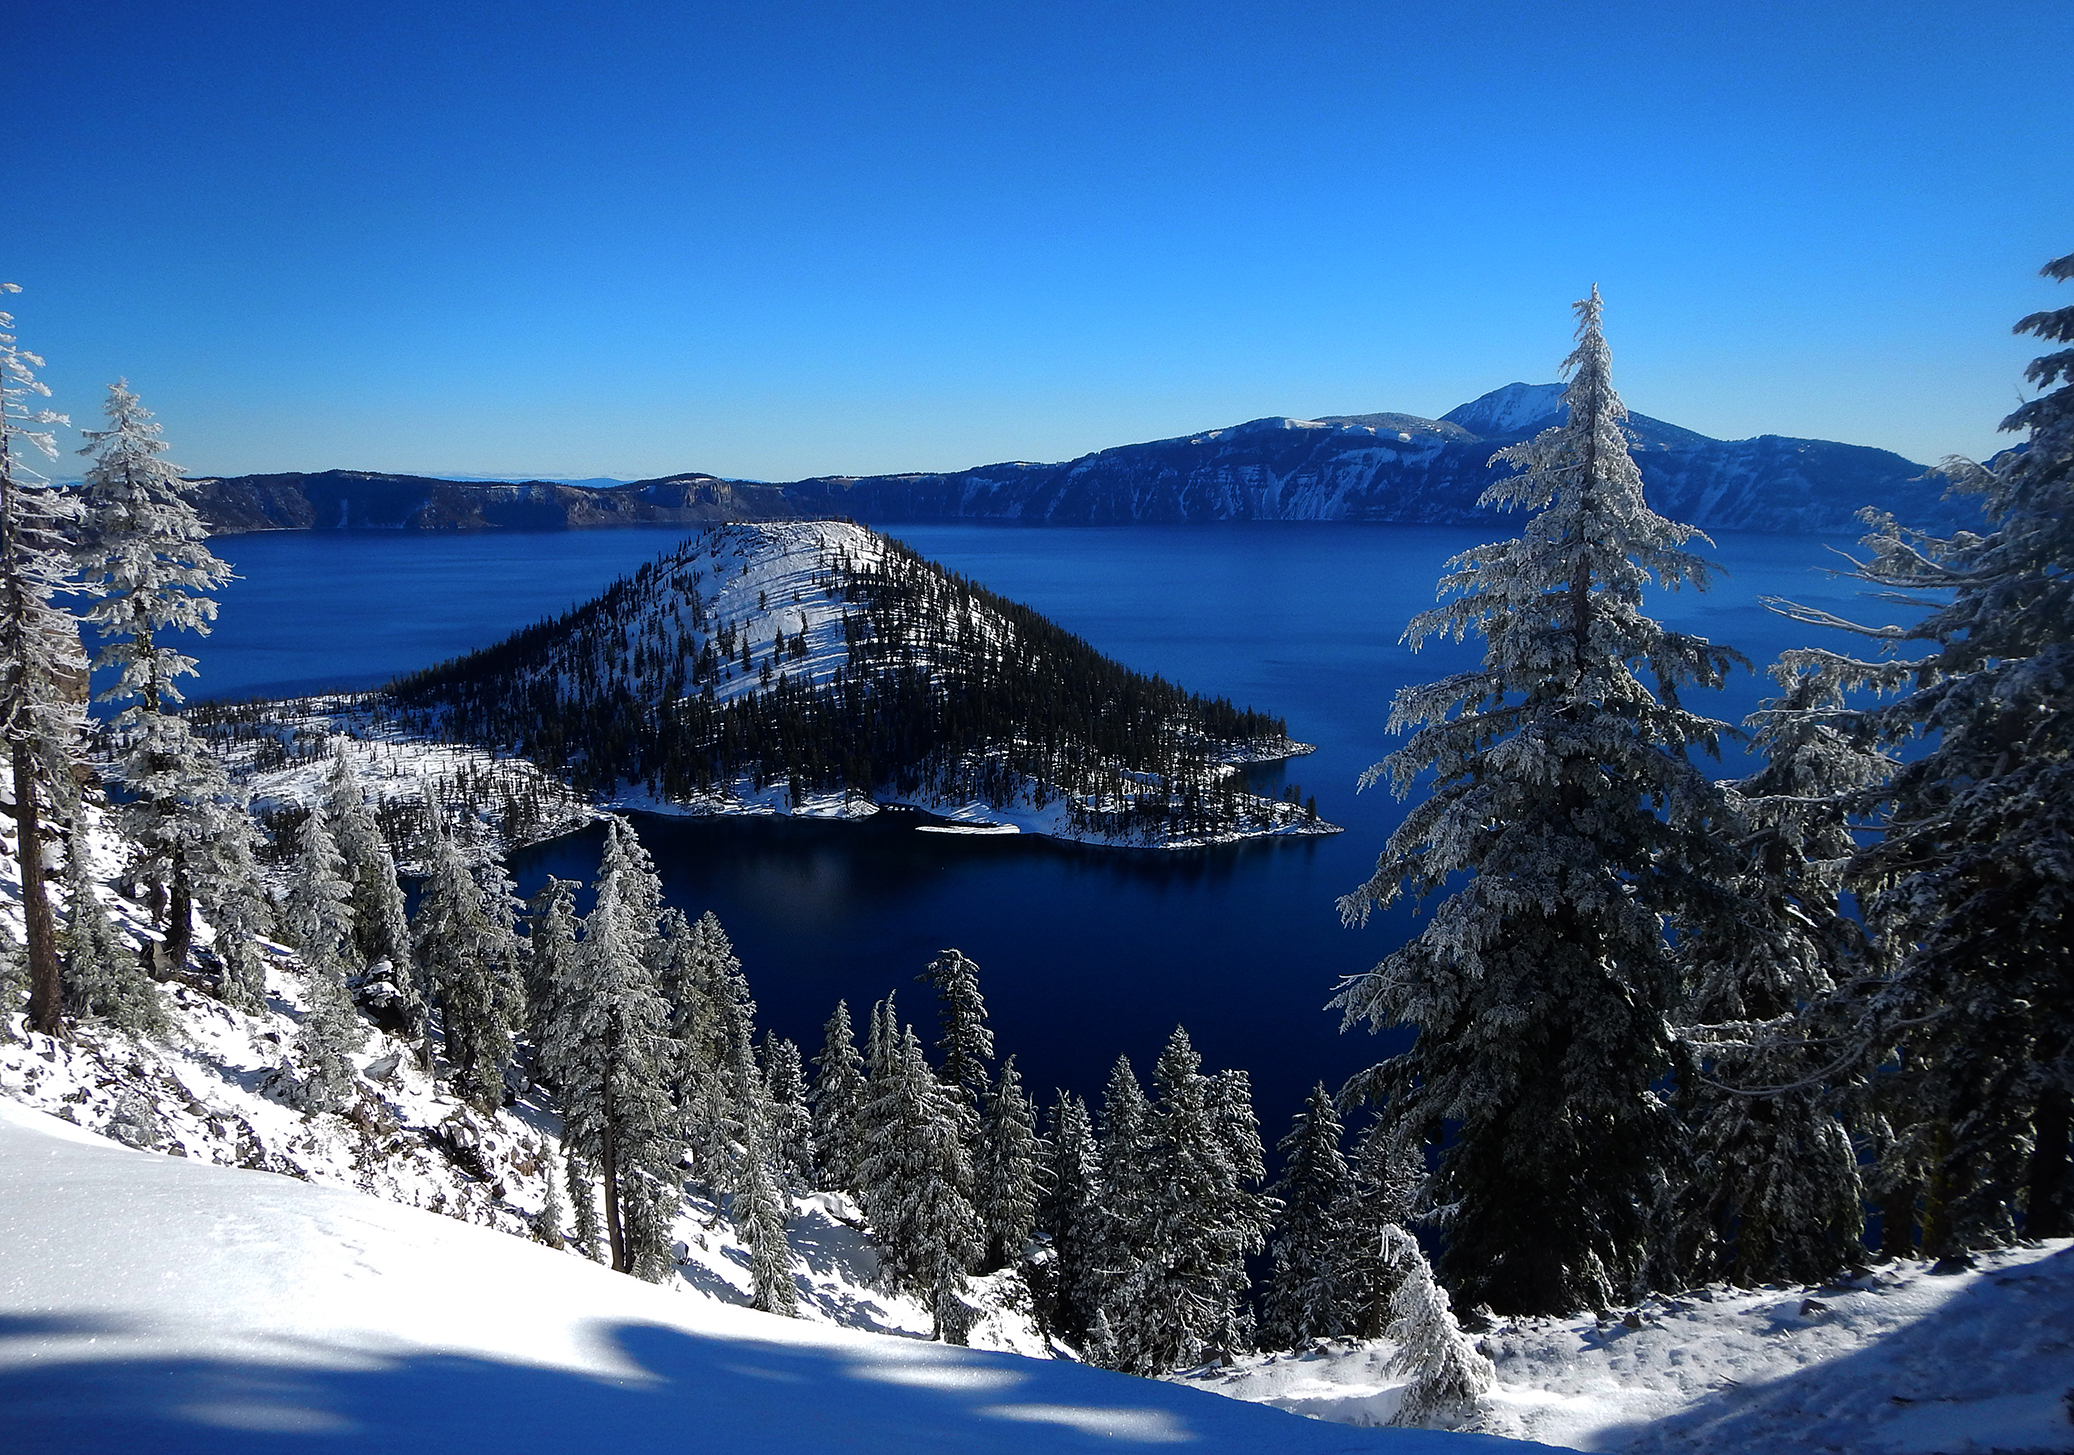
Our first look at “Wizard Island”
The first seven miles of the ski the Lao Rock disappeared with incredible ease. The sun was shining, the wind was still, and 2″ of fresh snow over a consolidated base made the conditions fast and easy.

Can you spy the Watchman lookout? #cabinporn
The snow was deepest on the West side of the lake, and from the parking lot, the North Side looked bare. With low snow conditions this year, we wondered if we might not have to do some pavement walking on the backside.

Out of the shadows…
Our plan was to ski the lake in two halves. The first day would take us 3/4 of the way around the lake as the clock turns, while the second would take us through the remaining 1/4 by a meandering path containing more of the vertical gain.

Into the sunshine.
As we reached the North side of the lake, we found the road to be largely covered thanks to wind-drifting. We were glad to have skin wax handy as the day warmed up and the snow tried to glop onto our skins. Without that little purple bar of glop stopper, the day would have been over there.

And through the solitude.
Stepping over the occasional bare spot on the road, we began the climb towards Mt Scott, the circa-9000′ peak that marked the end of our day. We started to run into some foot pain that neither of us had felt before– forefoot blisters and heel bruising– but that’s why you do these tours before big races.

The North side of the lake was more summery. Here, Taylor detunes her edges.
We continued to tough it out through the last few miles, thinking about pushing camp further to make day 2 easier, but ultimately settling for camping beneath Mt Scott.

The weather stayed good throughout the first day
There beneath Mt Scott, in the frigid evening, we were treated to an amazing sunset playing across the face of the mountain and out onto the dry plains a few thousand feet below us.

And ended with an incredible sunset on Mt Scott.
This is why we walk for miles and sleep in the cold. Irreplaceable.

And over the Southern Oregon Cascades.
As the first day had been challenging, we woke with concerns that the second more-vertical day might whup us. As it turns out, a more up-down course made for easier travel. Skinning moderately up isn’t much harder than skiing across the flat, and skiing down the road sans-skins made half of the mileage fly by.

Besides bare patches of road, days two flew by.
We had expected another 7-hour day, but quickly found ourselves back by the park visitor center in about four hours. We stashed our skis and stubbornly marched 3 miles up the plowed road to retrieve the car. In retrospect, we could have skinned up the shoulder.
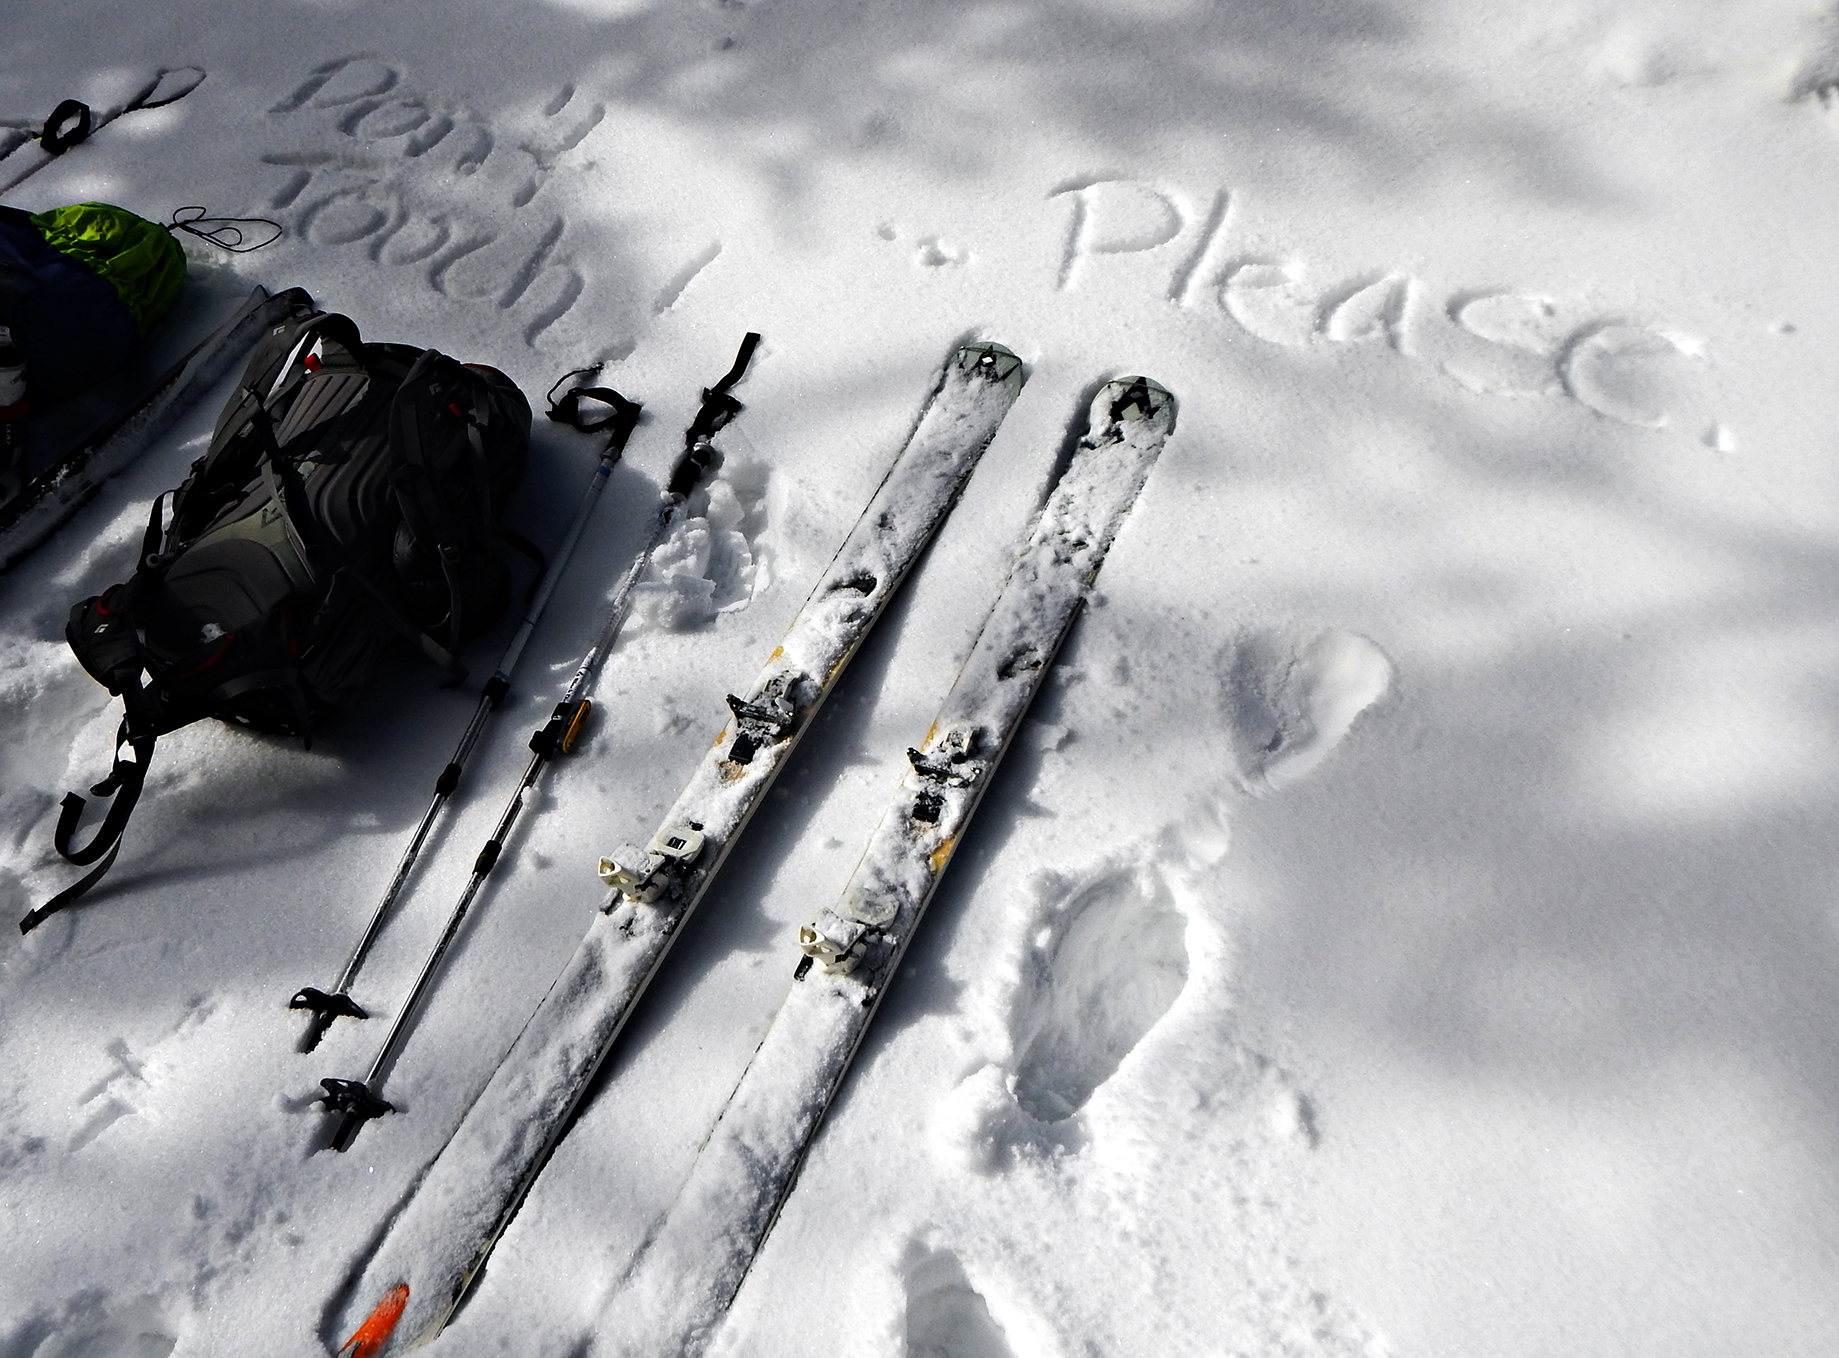
Please don’t steal my race skis. I can’t afford them as is.
The weather started to turn just as we reached the car and wrapped up another amazing adventure. I’m always glad to have partners as dumb as I am who will agree to my silly plans, and this trip was no exception.

Content partners, glad to tick another adventure off the life-list.
Our total moving time was around 12 hours. Intuitively for some, and counterintuitively for others, I’m pretty sure that skiing the loop as a day trip would be considerably easier than carrying camping gear for 2 days. Certainly light gear or patterned BC skis would make this considerably easier.
Additionally, other reports seem to indicate than going counter-clockwise is prudent, getting the “difficult travel” out of the way first. I disagree wholeheartedly. Better to start with the slogging and end with intermittent skiing breaks. Thought he mileage of our days was equal, the second day took only about half as much time.
[divider_line]
Gear List
[one_half][list_circle]Kit[li]Feathered Friends 20 degree down bag[/li][li]Exped down mat[/li][li]BD Mission 75 Pack stripped of lid[/li][li]Jetboil[/li][li]MSR Whisperlite[/li][li]North Face Talus 2 3-season tent[/li][li]Dynafit PDG skis[/li][li]Pomoca Race Pro Skins[/li][li]Dynafit TLT Speed Superlight bindings[/li][li]TlT5 Performance boots[/li][li]Black Diamond Traverse Poles[/li][/list_circle][/one_half]
[one_half_last]Clothing[list_circle][li]Arcteryx Short-Sleeve Merino[/li][li]Patagonia R1[/li][li]Patagonia Houdini[/li][li]Arcteryx Thorium AR Down Jacket[/li][li]Flylow Tough Guy Gloves[/li][li]OR PL400 Glove[/li][li]Dynafit Stretch Race pants[/li][li]Marmot 3/4 Length long Underwear[/li][li]Darn Tough Socks[/li][li]Icebreaker beanie[/li][li]Patagonia Trucker hat[/li][li]Suncloud Sunglasses[/li][/list_circle][/one_half_last]
[divider_line]
http://www.avantlink.com/link.php?ml=1430&p=107941&pw=128409&open=_blank
Tags: circumnavigation, crater lake, crater lake circumnavigation, crater lake ski circumnavigation, national park, oregon, photo, photopost, ski tour, Skiing, southern oregon, trip report Last modified: February 6, 2014


Hi Patrick,
I enjoyed reading your report. I wonder why did you park away from the visitor center, necessitating 3 mile side trip to get to the car? Safety concerns?
I am thinking of doing something similar myself but my drive (from Seattle) would be longer. Thanks for the inspiration
Pavel
The visitor center and the crater rim are separated by 3 miles to road. If you choose to start your circumnavigation at the rim, then you will end by climbing back to your car (or skinning as we found you can). If you start at the visitor center, you’ll begin with 3 miles to rim, presuming that you go clockwise.
have fun!
you can also unload at the rim then go park at the visitor center and hitch a ride up to the rim. there’s always cars and isn’t too difficult. This avoids the chance of your car getting snowed in at the rim, sometimes it takes a few days for them to clear the road up to there.
I really like and appreciate your forum post.